Your Windows Should Make You Smile
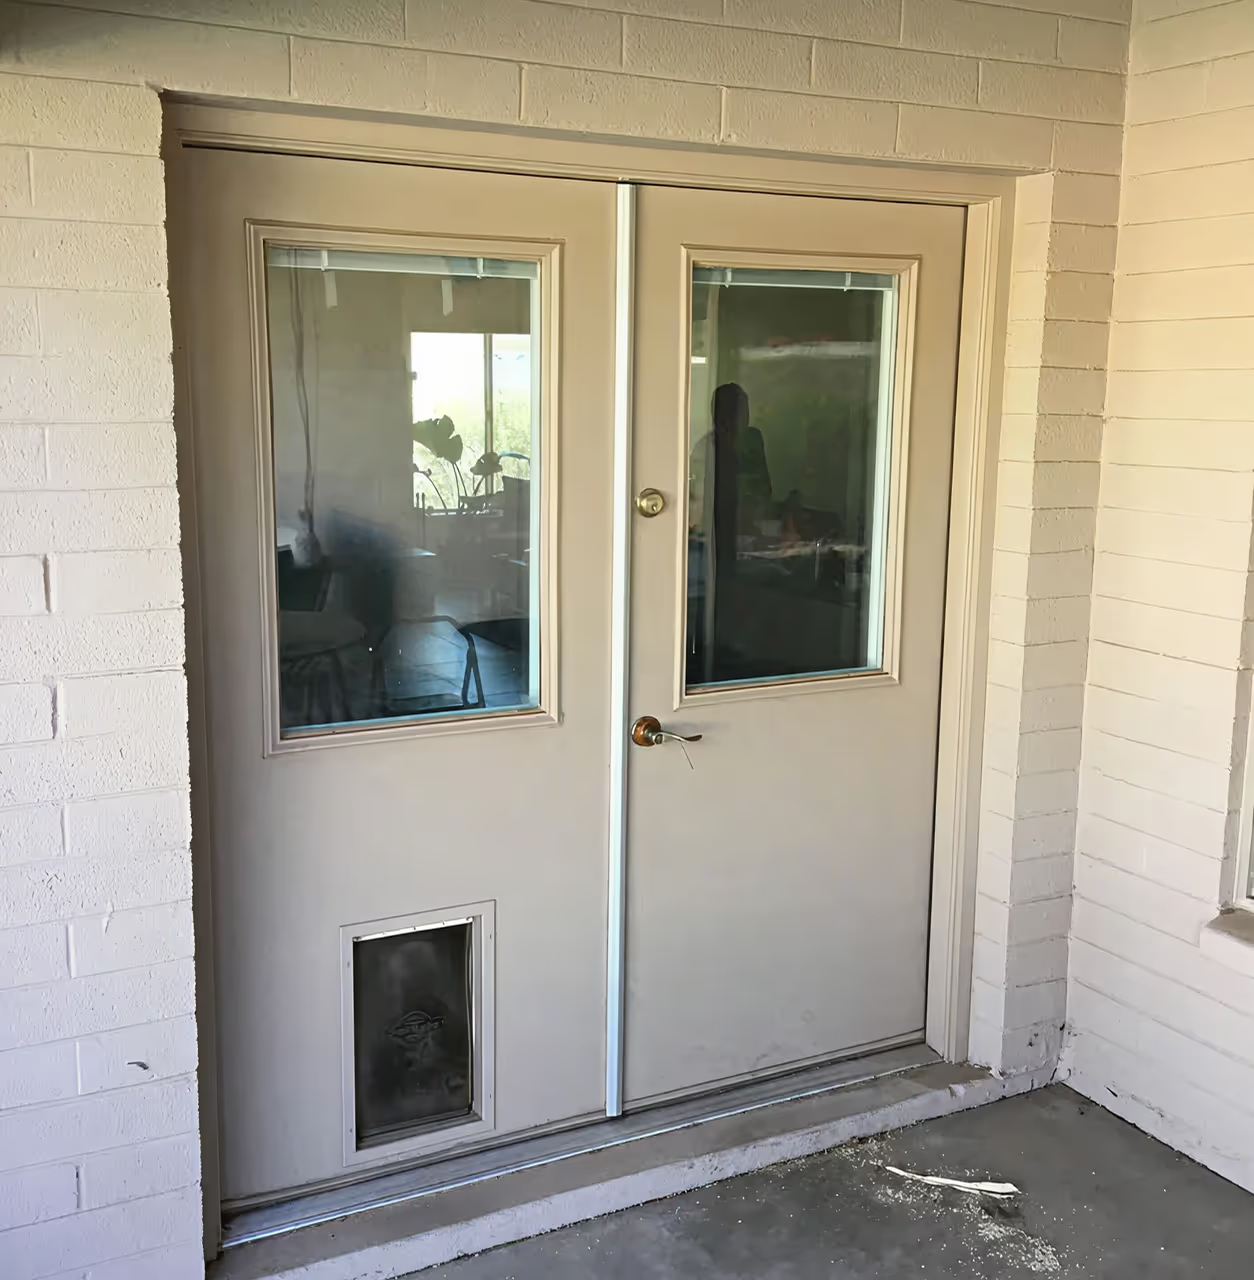
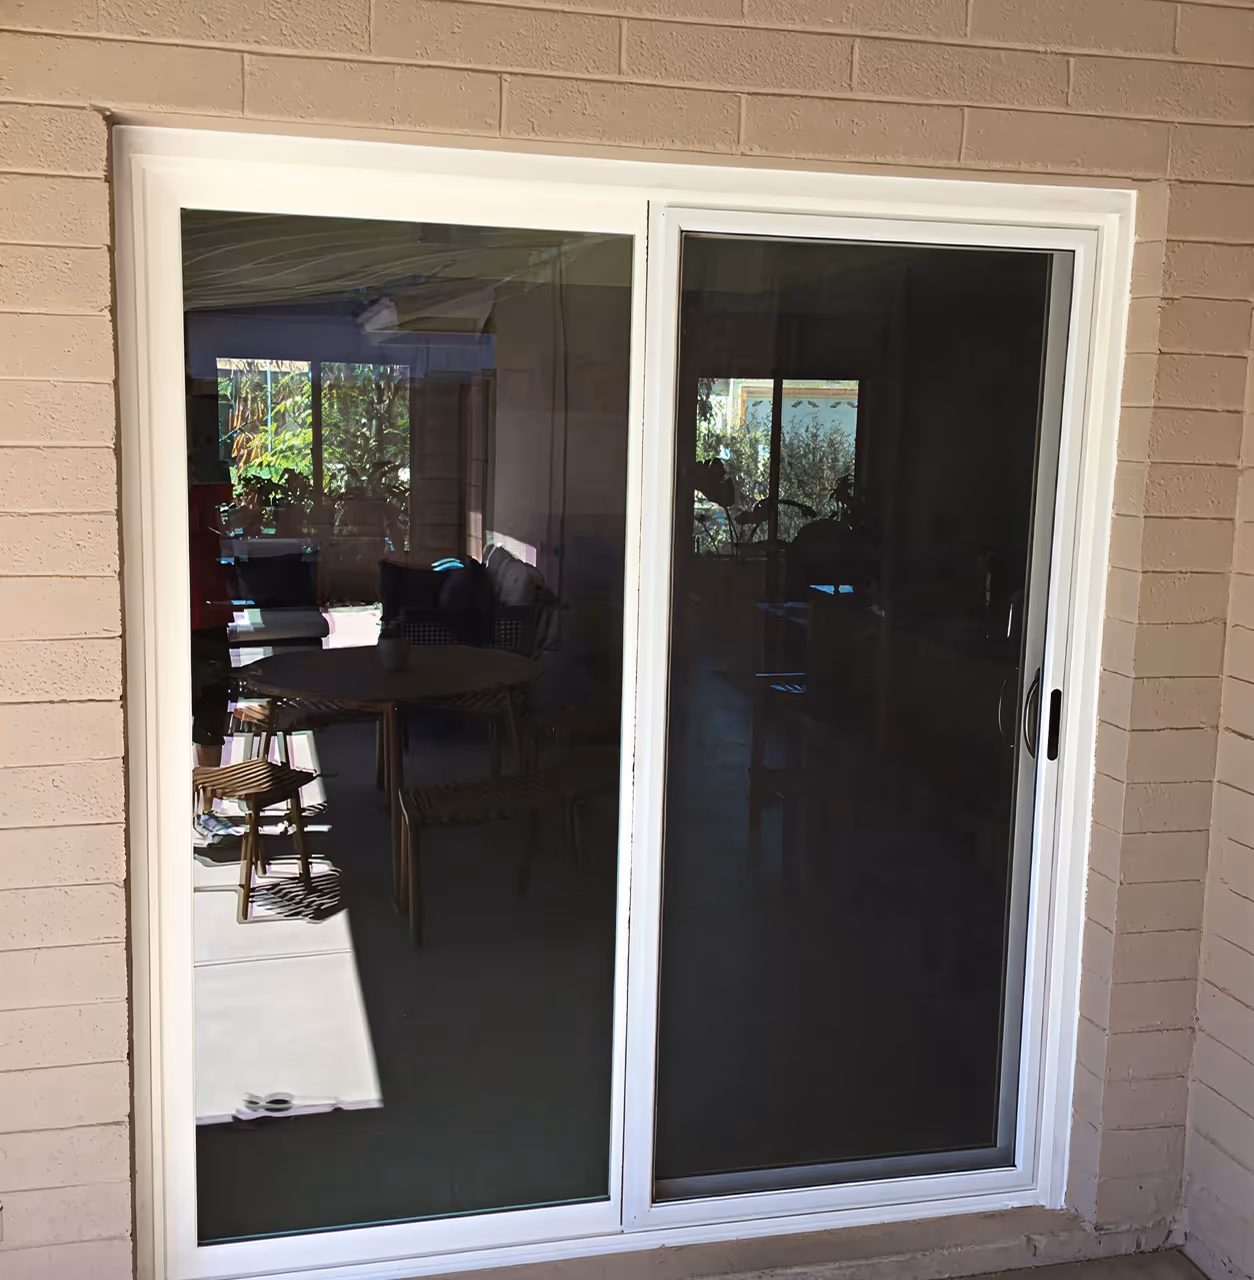
Upgrading your windows is a huge no-brainer!
New windows can actually SAVE you money! Upgrade to beautiful, energy efficient windows — with installs in as little as ONE day. Let 1-800 Remodel connect you instantly with top-rated local pros through Artie, our 24/7 AI concierge.