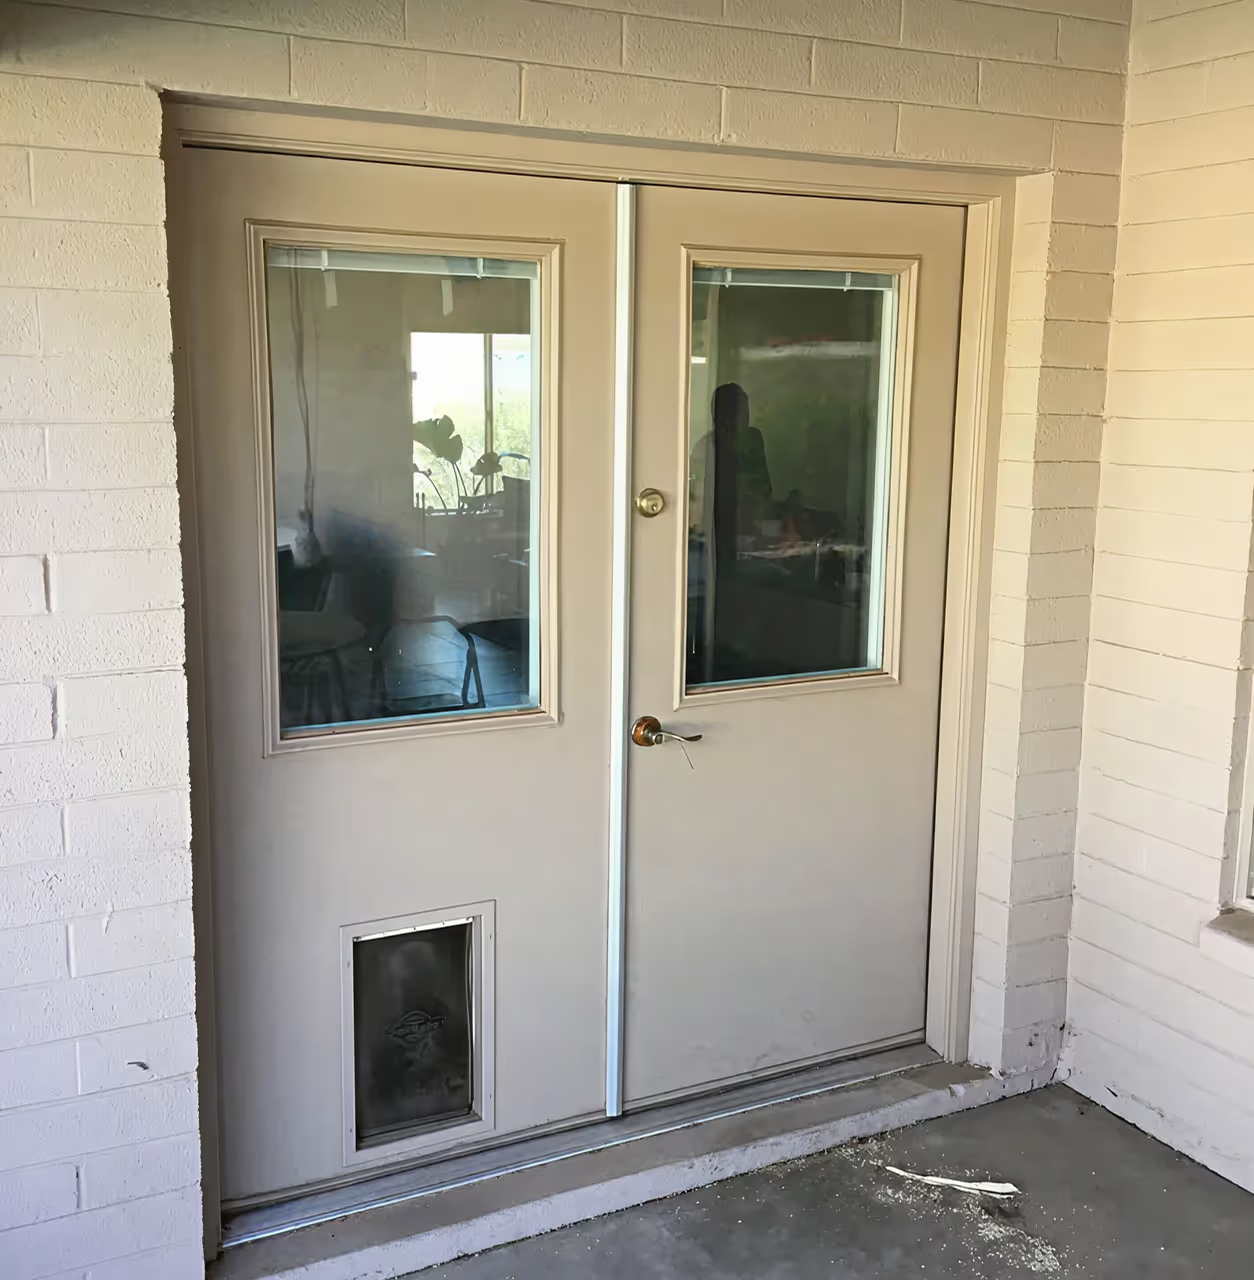
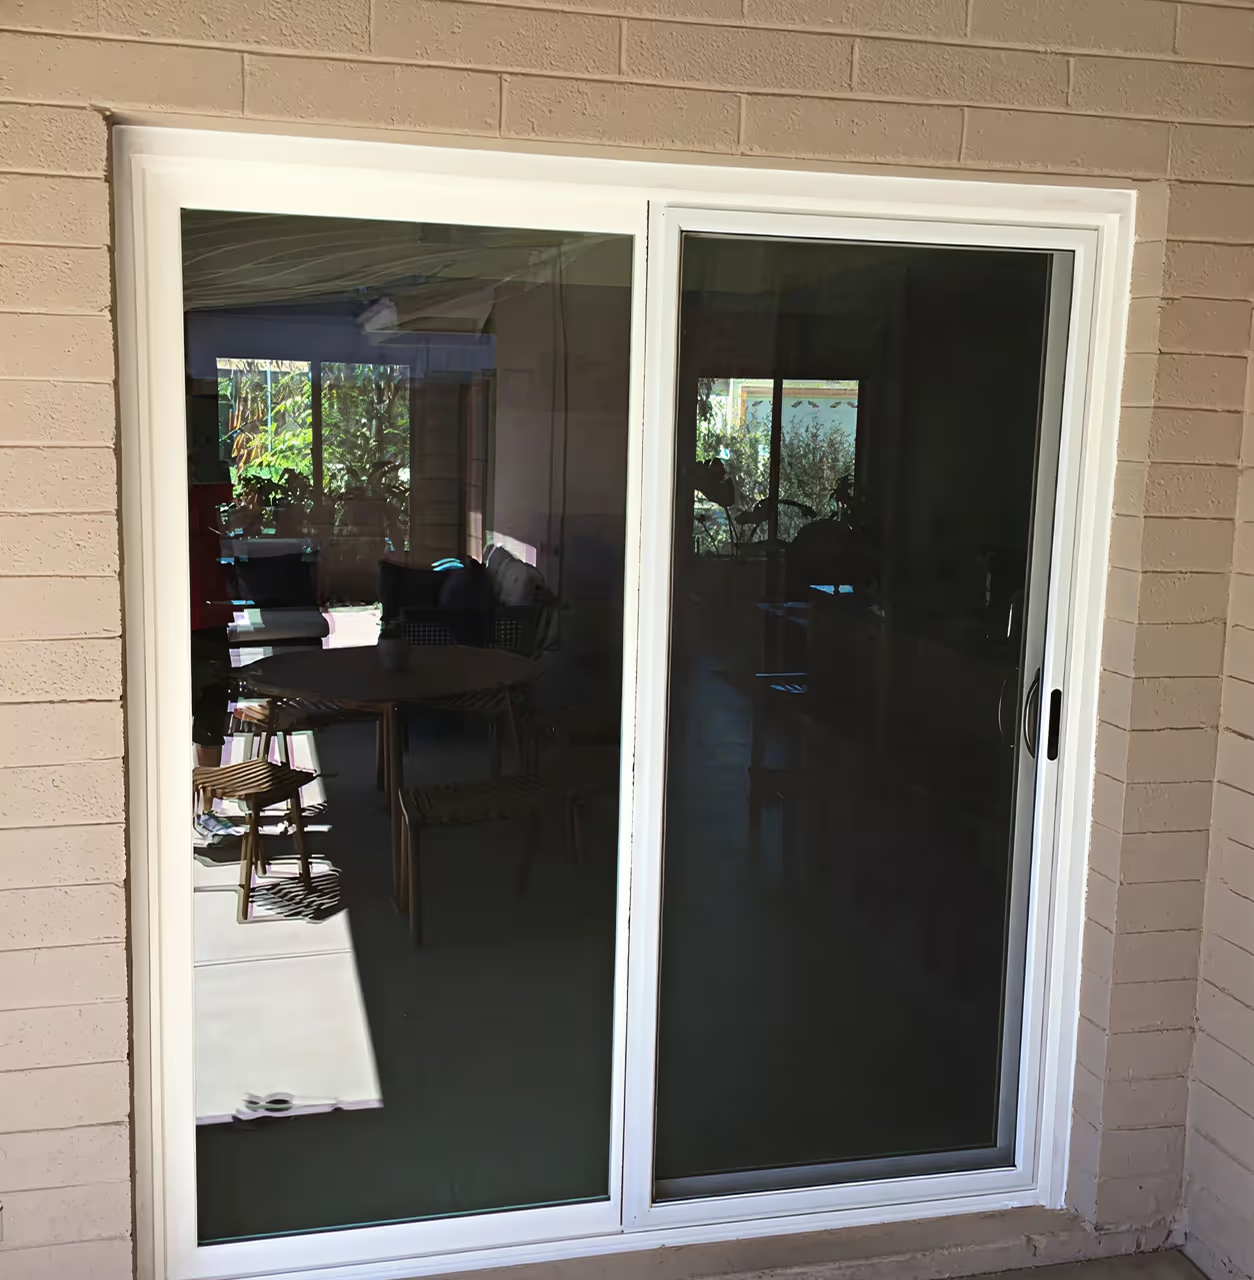
The exterior window trim on stucco is not just about aesthetics; it’s also about protecting your home from the elements and enhancing its curb appeal.
In this guide, we’ll demystify the art of exterior window trim on stucco surfaces, providing you with valuable insights, step-by-step instructions, and tips to help you transform your home.
By the end of this guide, you’ll not only understand the importance of well-crafted exterior window trim but also have the knowledge and confidence to enhance the beauty and functionality of your home.
What is Stucco Window Trim?
Stucco window trim is a decorative and functional element used in home construction and remodeling. It consists of molding or trim pieces, typically made from materials like wood, PVC, or composite, that are installed around the exterior of windows in homes with stucco siding.
Stucco is a durable and textured material applied to the exterior of buildings, and window trim serves as the finishing touch, bridging the gap between the window frame and the stucco surface. Beyond its aesthetic role, stucco window trim plays a practical role in sealing the window, protecting it from the elements, and enhancing the overall curb appeal of a stucco-clad home.
Homeowners can choose from various trim materials, styles, and colors to customize the look of their windows and complement their home’s architectural design.
Can you Put Window Trim on the Stucco?
Yes, you can install window trim on stucco surfaces. This common practice in construction and remodeling enhances aesthetics and weather resistance. To do so, use appropriate adhesives and fasteners for exteriors, ensuring a level and secure attachment. Proper surface preparation, choice of materials (like PVC or wood trim), and careful installation are crucial for a professional, durable finish, whether for existing or new windows on stucco-clad homes.
What Type of Window Trim Goes on Top of Stucco?
When deciding on window trim for stucco exteriors, consider both material and style. Opt for durable materials like PVC, composite, or wood. PVC and composites resist moisture, crucial for protecting stucco from water damage. Wood, while offering a classic look, may need more maintenance on stucco.
Style-wise, there’s a range to complement your home’s architecture, from traditional to modern, with customizable features like crown molding, rosettes, or corbels for added sophistication. Your choice should reflect design preferences, local climate, and maintenance commitment. Proper installation and upkeep will ensure your stucco-topped window trim looks great and functions effectively.
Let’s dive into the world of exterior window trim on stucco and unlock the secrets to a picture-perfect finish that will stand the test of time.
Removing Old Trim (if applicable)
Before you can start installing your new exterior window trim on stucco, it’s crucial to address any existing trim that may be in place. Removing old trim, if applicable, is a necessary step to ensure a clean and successful installation. Here’s a step-by-step guide on how to approach this:
- Inspect the Old Trim: Begin by thoroughly inspecting the condition of the existing window trim. Look for signs of wear, damage, or rot. Pay close attention to any areas where the trim meets the stucco, as these junctions can be prone to water intrusion and damage.
- Gather the Right Tools: To remove the old trim, you’ll need appropriate tools, which may include a pry bar, a hammer, a utility knife, and a putty knife. Ensure you have safety gear like gloves and goggles to protect yourself during the process.
- Start at the Edges: Begin by carefully prying the trim away from the stucco at the edges. Be gentle to avoid causing any damage to the stucco surface. If the trim is secured with nails or screws, use the appropriate tool to remove them.
- Work Your Way Inward: Gradually work your way toward the center of the trim, continuing to pry it away from the stucco. If the trim is stubborn or well-attached, use a utility knife or putty knife to cut through any paint or caulk that may be holding it in place.
- Address Any Stucco Damage: Once the old trim is removed, inspect the stucco surface for any damage. Repair any cracks or holes using a stucco patching compound. Allow it to dry and then sand it smooth to create a uniform surface.
- Clean the Area: Before proceeding with the new trim installation, clean the stucco surface thoroughly to remove any debris, dust, or residue from the old trim. A clean surface ensures better adhesion for the new trim.
This attention to detail in the early stages of your project will contribute to a smoother and more successful overall outcome. In the next section, we’ll guide you through the step-by-step process of installing the exterior window trim on stucco surfaces, so stay tuned for more expert advice.
Installing Exterior Window Trim on Stucco
With the old trim removed (if applicable) and your stucco surface prepared, it’s time to move on to the exciting phase of installing your exterior window trim. Follow these step-by-step instructions to ensure a successful installation process:
- Prepare Your Workspace: Before you begin, ensure your work area is clean and well-organized. Lay out all the necessary tools and materials within easy reach to avoid interruptions during the installation.
- Cut Your Trim Material: Using your precise measurements from earlier, cut your trim material to the appropriate lengths. Double-check your measurements before making any cuts to ensure accuracy.
- Apply Adhesive: For stucco surfaces, it’s advisable to use an adhesive specifically designed for bonding trim to stucco. Apply the adhesive generously to the back of the trim pieces, paying particular attention to the edges and corners.
- Position the Trim: Carefully position the trim pieces around your window, pressing them firmly onto the stucco. Use a level to ensure that the trim is perfectly aligned and level. Secure the trim in place with fasteners, such as screws or nails, following the manufacturer’s recommendations for your chosen material.
- Fill Gaps and Joints: To create a seamless look, use a high-quality exterior caulk to fill any gaps or joints between the trim and the stucco. Smooth the caulk with a caulking tool or your finger for a neat finish.
- Allow for Expansion: Keep in mind that trim materials can expand and contract with temperature changes. Leave a small gap between the trim and the stucco (about 1/8 inch) to accommodate this movement.
- Paint or Finish: Once the trim is securely in place and any caulk has dried, apply a finish coat of paint to protect and enhance the appearance of your exterior window trim. Choose a paint that is suitable for your trim material and the climate in your area.
- Clean Up: Dispose of any waste materials properly and clean your tools. A clean workspace and well-maintained tools will make future projects easier and more enjoyable.
Congratulations! You’ve successfully installed your exterior window trim on your stucco surface. Take a step back and admire the transformation of your home’s exterior.
Conclusion
In closing, you’ve embarked on a journey to master the art of exterior window trim on stucco, and we hope this comprehensive guide has been a valuable companion along the way.
By now, your home has likely undergone a remarkable transformation, with enhanced curb appeal and a fresh, polished look. Whether you tackle this project as a seasoned DIY enthusiast or as a newcomer to home improvement, your dedication and attention to detail have paid off.
Remember that your exterior window trim not only adds visual charm to your home but also plays a critical role in protecting your windows and the interior of your house from the elements. With proper care and maintenance, it will continue to serve you well for years to come.
Thank you for joining us in the adventure of mastering exterior window trim on stucco. We wish you continued success in all your home remodeling endeavors, and may your home always be a reflection of your personal style and creativity.